-
Nikon D800
The Nikon D800 boasts a remarkable 36 megapixel resolution, and a record-breaking 14.4 stops of dynamic range. Like other DSLRs, the camera offers auto exposure bracketing (AEB), allowing multiple shots to be taken automatically with different exposures, so that they can be combined into an HDR image later. As is becoming increasingly standard, it also comes with an in-camera HDR function, allowing exposures to be combined internally, to produce a blended image immediately.
Auto Exposure Bracketing
Like previous models, the D800 offers a maximum of only ±1EV per shot, in in either 1/2 or 1/3 EV increments. However, a bracketed set can be made up of up to nine shots, giving a maximum possible spread of 8EV.
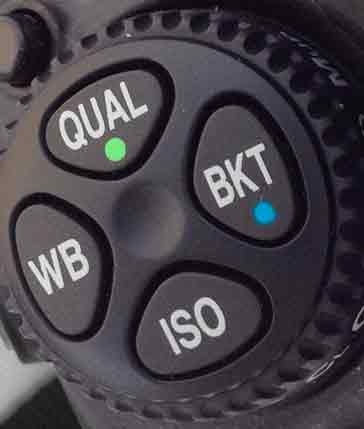
In the D800, Nikon has included a dedicated "BKT" bracketing button on the Release Mode top-left dial, saving a trip to the menu to activate this mode.
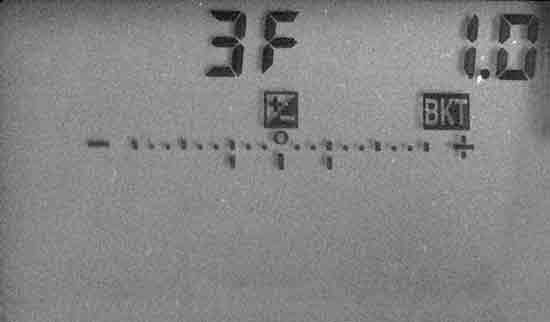
After pressing the button, the front Main Command Dial selects the number of shots, while the rear Sub Command Dial selects the EV spacing. While you set up AEB mode, the Control Panel on the top of the camera shows the number of frames selected (e.g. "3F" for three frames), the EV spacing, and a graphical display of the exposure compensation for each shot.
The Main Command Dial can select from nine choices for the number of shots. Selecting 0 turns off AEB, while sets of 2, 3, 5, 7 or 9 frames can also be chosen. In addition, for sets of 2 or 3 shots, you can adjust the centre-point of the set, to make the normally exposed photo either the darkest or brightest in the set. These choices show up in the Control Panel as "+3F" or "-3F" for example.
EV spacing choices are normally limited to 1/3, 2/3 or 1EV, but in the Custom Settings menu "b2: EV Steps for Exposure Cntrl" you can choose 1/2 EV steps. Note that this also affects the steps for choosing normal exposure compensation.
If you intend to take your bracketed sets in Manual mode, another setting you will want to visit is "e6: Auto Bracketing (Mode M)". This determines how different exposures are achieved for AEB. From here you can choose whether to vary just the shutter speed, both shutter speed and aperture, or only aperture (or even just the flash brightness). For best HDR results, be sure to select a setting that does not alter the aperture.
Built-In HDR Mode
For a camera with the abilities of the D800, the in-camera HDR mode is surprisingly limited, combining only two photos, with a separation of ±1, 2 or 3EV. When you shoot in this mode, the camera will automatically take two photos and blend them into one result photo, allowing scenes to be captured with higher dynamic range than would otherwise be possible.
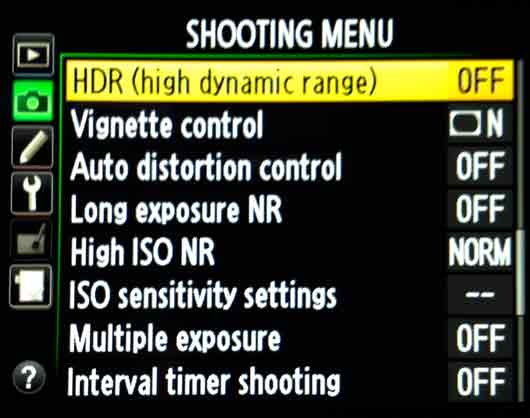
You can get to the HDR settings from the Shooting menu.
If this mode is something you use frequently, you can also program the BKT button to enter HDR mode, rather than activating exposure bracketing.
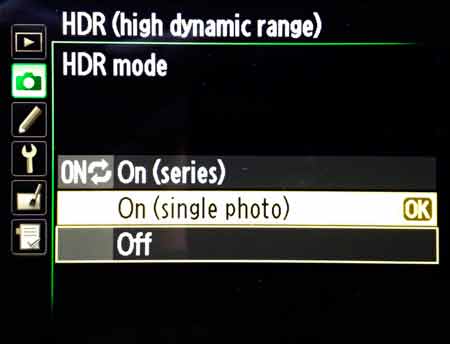
To take just one photo in HDR mode, select the (single photo) HDR mode option. After you take the HDR shot, the camera will take photos normally again. If you want to take a number of HDR photos, you can select (series) mode, and all shots you take will be in HDR mode until you turn if off.
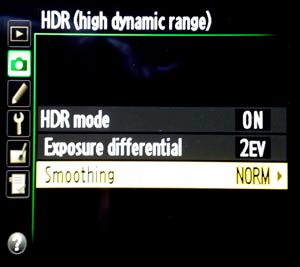
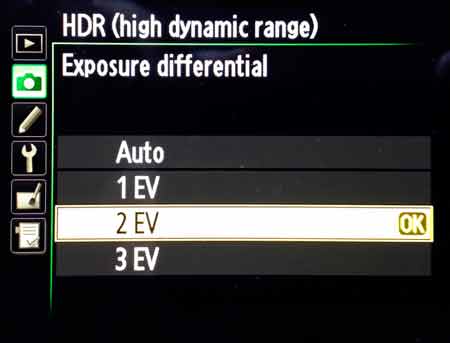
From the HDR menu you can also choose the exposure separation. Select Auto to let the camera choose based on the scene to be captured.
The photo blending process can be customised to some degree with the Smoothing setting. Setting this to "Low" results in less natural looking images, where highlights are significantly darker and shadows significantly brighter than in the source images. A "High" setting results in more subtle alteration, giving a photo with a more natural look.
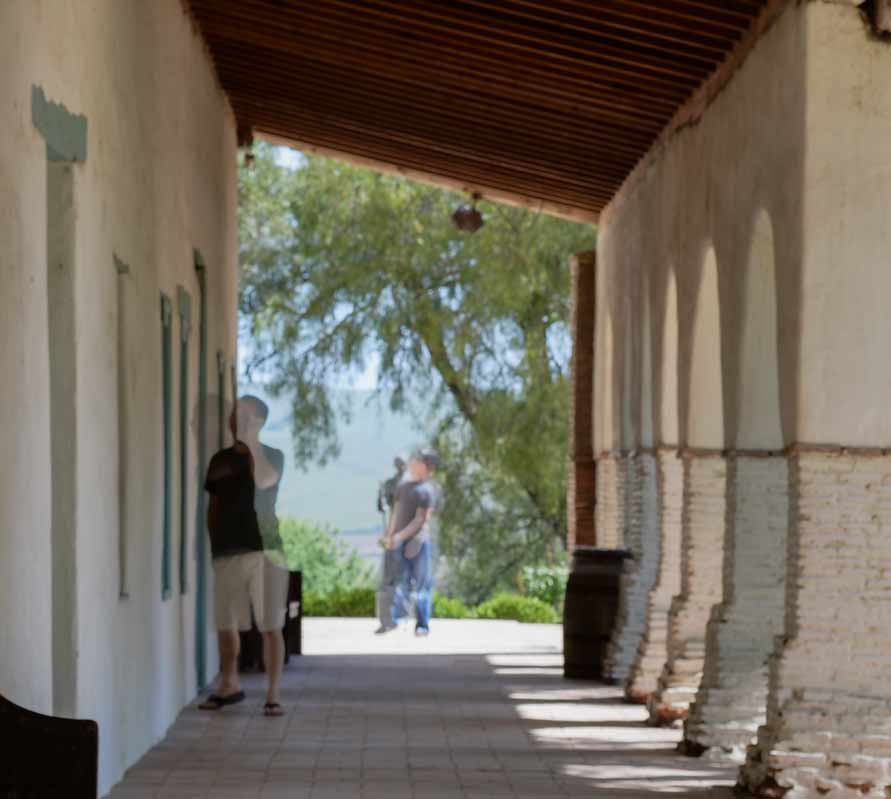
Although Nikon recommend the use of a tripod when shooting in HDR mode, the camera is capable of aligning images providing there is not too much camera movement. If there are moving objects such as trees or people in the frame while the photos are being taken, then ghosting may be noticeable in the final image, as can be seen in the example below.
Finally, it is important to be aware of two limitations of HDR mode. The first is that you cannot shoot in HDR mode using RAW images, only JPEG or 8-bit TIFF. Secondly, unlike the Canon 5D Mark III, you can save only the final JPEG or TIFF merged image, not the individual exposures that were taken and combined. This means that you have to choose between either generating the image in the camera, or saving the images to process in external software.
Given the the very large dynamic range of the D800's sensor, you may find that a lot of scenes can be captured with a single photo in RAW mode. Where higher dynamic range is required, HDR mode will add only another 3EV (some of which may be lost by not shooting RAWs), and has limited processing options. On the other hand, an extra 8EV can be spanned by taking a bracketed set and then processing the photos externally using software such as Photomatix, which also offers a wealth of options to control the final appearance of the image.
Fast Facts
Camera dynamic range: 14.4EV AEB Number of shots 2, 3, 5, 7, 9 EV steps ±0.3, 0.7, 1.0EV Max bracketing range 8EV HDR Number of exposures 2 EV steps ±1, 2, 3 Max range 3EV HDR settings Smoothing: high, normal, low