-
What is HDR Photography?
HDR (High Dynamic Range) photography is a technique for capturing a much broader tonal range than a digital sensor can record in a single exposure. Simply put, the digital camera sensor is not technically advanced enough to capture the range of light available in nature.
However, for HDR photography multiple exposures of the scene are taken, one image records the brightest areas while another records the darkest areas. These exposures are then loaded into an HDR software, such as Photomatix, and become the building blocks of an image that possesses details throughout.
Before we talk about HDR let’s back up and talk about exposure values. Your camera will adjust itself (shutter speed or aperture or both) to take a middle gray picture which we refer to as 0 Exposure Value or 0EV. If you go outside in the bright sunlight the camera will adjust itself for 0EV, if you go inside into a dimly lit room the camera will adjust itself for 0EV.
In all lighting situations the camera (set to auto-mode) will seek to average the lighting to achieve a middle grey scene which we refer to as 0EV. A +2EV image results in a brighter picture that captures more detail in the darker areas of the scene and -2EV image results in a darker picture that captures detail in the bright areas of the scene, like the sky for example.
To properly capture the images, -2EV, 0EV and +2EV we have to vary the shutter speed. So how does one go about varying only the shutter speed for each exposure?
There are a few options, the most popular is to set the camera to Aperture-Priority and use the function for auto-exposure bracketing (AEB). If your camera doesn’t have AEB then exposure compensation can be dialed in manually while in Aperture-Priority mode. The other option is to set the camera to Manual rather than Aperture-Priority.
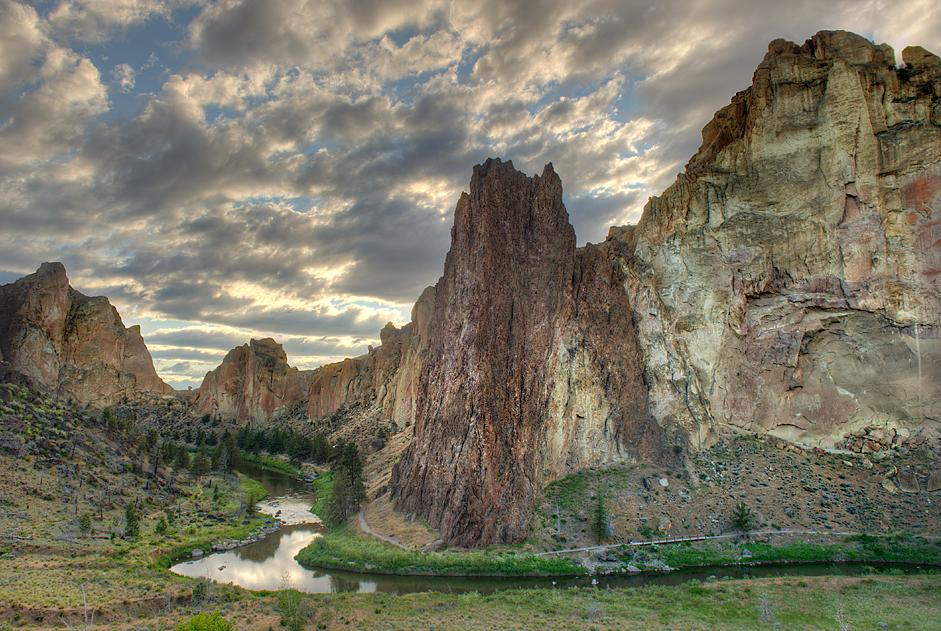
Imagine a landscape scene with a setting sun behind a mountain. You are facing the sunset, a meandering river and some trees run along the base of the mountain, a bright cloudy sky is above.
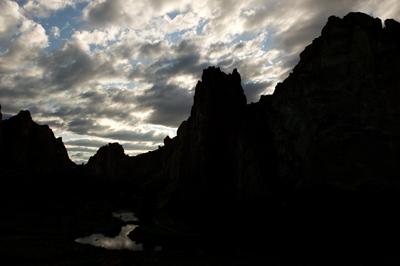
The 0EV image will average the entire scene into one middle gray image. Chances are the 0EV image will have an over exposed sky and details around the river will be muddy and dark.
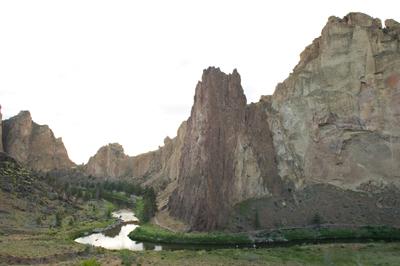
The +2EV image will be a slower shutter speed and will allow more light to reach the sensor. The result will be more color and texture in the rocks and trees, but the sky will be significantly over exposed.
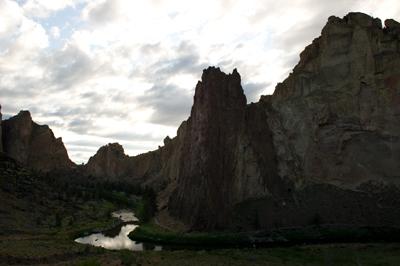
The -2EV will be a faster shutter speed and will allow less light to reach the sensor. The result will be a better exposure for the sky but the foreground will be dark with little to no details. All three of these images will play a part in the final HDR image, each contributing its best pixels to the final image.
Once the images are loaded into Photomatix, the program will align them and create a 32-bit HDR image. The final phase of HDR photography is the process known as tone mapping. Tone mapping is a hands-on process of adjusting sliders that will give your image the look you desire. From a conventional photograph to heavy grunge or even detailed-enhanced, you’ll find many choices that give you the control to recreate the scene with your artistic vision.